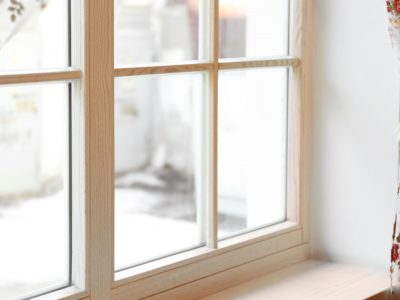


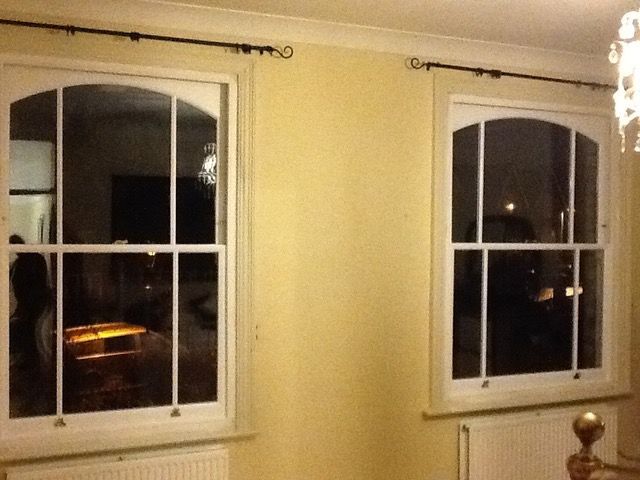
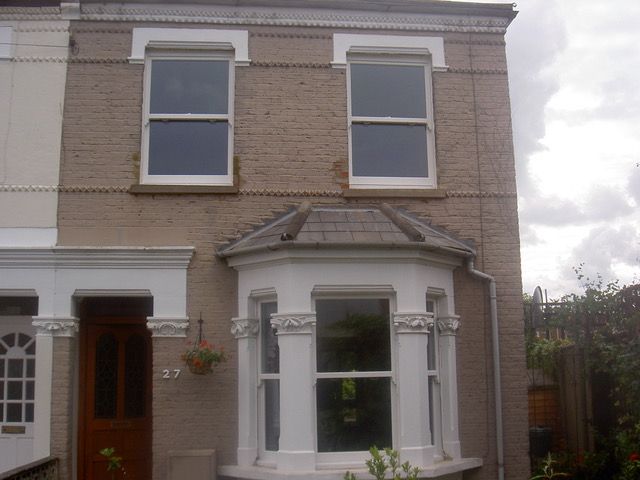
How To Paint Your Sash Windows To Avoid Sticking!
When it comes to sash windows, people are often hesitant to paint them just because it seems like such a difficult and risky project. Aside from that, many sash windows are unsuitable to be painted and require professional sash window restoration services in order to return to their peak condition.
It is true that painting a sash window does have its risks, and that the project itself can lead to all kinds of trouble which might actually effect the usability of the window itself. If not painted correctly, for example, the sashes can actually stick together within the frame and become difficult or impossible to open without ruining the paint; similarly, if the paint is too thick or uneven, then you run the risk of making the sash window un-sealable.
8 Steps To Painting Your Sash Windows
1. Firstly, you need to ensure that you remove all locks, handles and associated metalwork from the window frame itself. These windows are hard enough to pain without having to swap to your smallest brush in order to avoid ruining your ironmongery.
Just like with every other maintenance or DIY project, this job will require the correct preparation, and neglecting this prep work can really hurt the quality of the finished product.
As we said a moment ago, too much paint on a sash window can make it unusable, so if you have painted your windows previously you may want to strip the paint away first with professional paint stripper to leave you with a clean and sealable work surface.
2. In order to reach every part of your window, it is necessary to reverse the sashes. Remember to lift the bottom sash as high as it will go and pull the top sash down as low as possible.
In the past, we’ve seen many people follow the old tradition of putting masking tape on the glass in order to protect it from the paint, but we’ve found that, in the long run, this can cause more problems than it’s worth.
Whether you’ve stripped all previous paint or not, remember to clean and sand your surface to ensure that you have a smooth working area which will not cause air bubbles or dust to appear in your paintwork.
3. You can finally start painting! Once you’ve mixed your colour together, start painting the bottom section of the sash at the top. Always remember to paint the mullions first, and carefully, but don’t worry if a little paint happens to get on the glass. The mullions are the thin division strips which hold the individual panes of glass.
This part can be particularly time-consuming, and many people complain that the first paint applied has started to get sticky during the process, which makes it difficult to achieve a smooth finish. Remember to paint both sides of the mullions, including the horizontal sides facing upwards and downwards.
4. Next, paint the mullions in the lowered sash. You won’t be able to get to them all, but if you paint those which you can reach, it will make the project shorter further down the line.
5. After you’ve painted all the mullions that you can reach, apply your chosen colour to the face of the frame on the sash at the top (which should actually be the lower sash).
6. Once you’ve finished the face, paint the underside of the rebate into which the top sash will sit when you’ve completed the job. Now, you can push the down sash back up to the top, but stop short if it looks like the paint itself is going to touch, as it is likely that your paint will still be tacky or wet in places.
7. Now that the other sash is out of the way, paint the remaining mullions and all the faces. Anything that you couldn’t reach before should now be easily accessible.
8. Finally, paint the frame casing itself, as well as the windowsill. You might be wondering what to do about the paint splatters on the window panes, but don’t worry; it’s time to introduce your secret weapon. You can get a window scraper from most hardware stores, and they can really help to tidy up the aftermath of any project.
Run the window scraper blade vertically up the window, followed by horizontally until all the paint marks have vanished. Remember to go right up to the mullion, but don’t cut into the paint of the dividing strip itself.
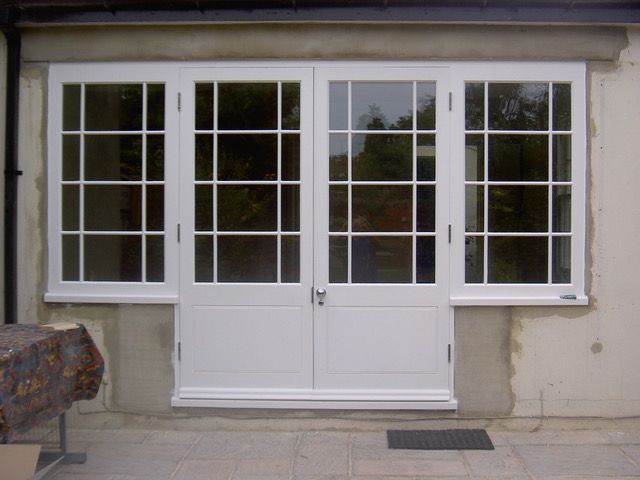
And there you have it! One freshly painted casement window to restore your home’s gorgeous appearance. If you’re windows have reached the point when even a new lick of paint can’t restore them to their former condition, then you might need serious and professional sash window restoration services, from experienced professionals.
Kellys Sash Windows, For Professional Sash Window Restoration And Refurbishment
Here at Kellys, we have spent many years working with casement doors and windows, and we are able to offer reliable and comprehensive sash window restoration, sash window refurbishment or replacement services to ensure that you can enjoy the full benefits of a practical and attractive casement window.
For more information, please don’t hesitate to get in touch with our professional team today on 0800 634 8636 today; alternatively, you can email any questions or concerns that you might have to our team of experts directly at enquiries@kellyssashwindows.co.uk.